
SHILLS PROFESSIONAL

Sale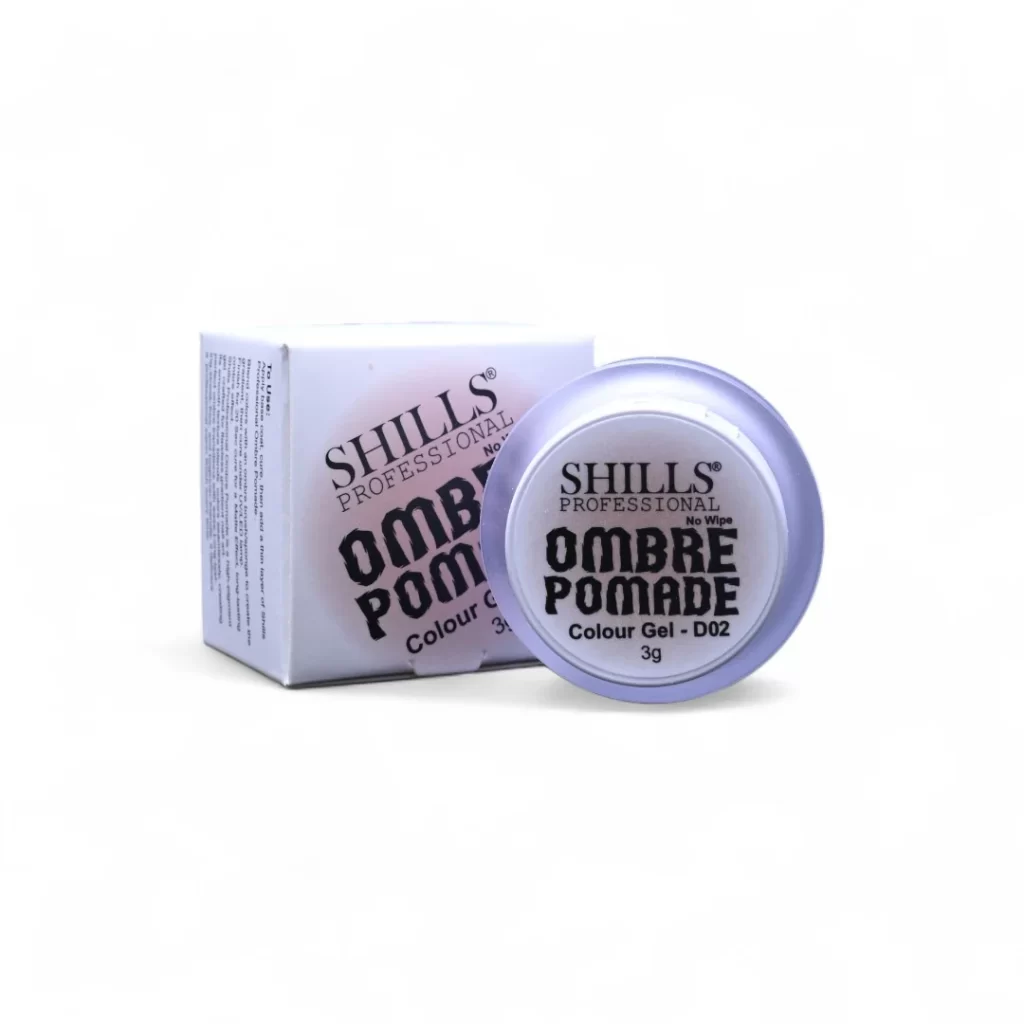
SHILLS PROFESSIONAL
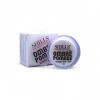
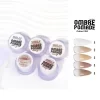
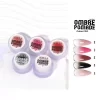
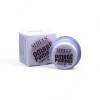
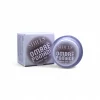
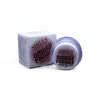
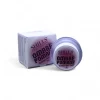
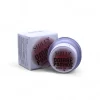
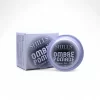
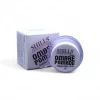
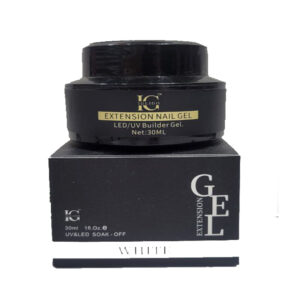
Shills Professionals Ombre Pomade Colour Gel | 3g
Inclusive of all taxes
5 in stock
Pay with UPI · Cards · Net Banking · No-Cost EMI
About the product
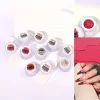
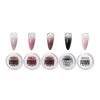
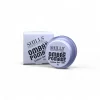
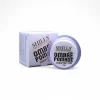
Shills Professionals Ombre Pomade Colour Gel | 3g
Shills Professional Ombre Pomade is a richly pigmented, ultra-smooth colour–blending gel crafted for creating flawless ombré transitions and gradient nail-art effects. Its creamy, slow-drying formula gives artists complete control, allowing seamless diffusion between two or more shades without harsh lines. Designed for precision detailing, this pomade glides effortlessly, stays exactly where placed, and delivers a high-impact, salon-grade finish. Whether you’re creating soft baby-boomer fades or bold multi-tone blends, this versatile pomade ensures depth, dimension, and long-lasting vibrancy in every design. HOW TO USE - 1. Prep the nail Shape, buff, and cleanse the nail thoroughly to remove any dust or oils. 2. Apply your base colour Paint the nail with your chosen base shade. Cure it completely under the lamp. 3. Load the sponge Take a tiny amount of Ombre Pomade on a makeup sponge or nail art sponge. Dab it lightly on a palette first to spread the product evenly. 4. Place the first layer Gently dab the sponge onto the nail at the transition point where you want the ombre to begin. 5. Blend the gradient Use soft, tapping motions to diffuse the colour upward or downward, depending on the direction of your ombre. Continue tapping lightly until the blend looks smooth. 6. Cure the layer Cure the nail under the lamp to set the first blend. 7. Repeat for intensity Add another thin layer using the same tapping technique if you want a deeper or more vibrant gradient. 8. Cure again. Perfect the blend If needed, do a final round of soft tapping with a nearly clean sponge to smoothen any harsh lines. 9. Cure. Seal with top coat Apply your top coat to lock in the ombre. Cure for a glossy, long-lasting finish.
OptionsD 01 | D 02 | D 03 | D 04 | D 05 | D 06 | D 07 | D 08 | D 09 | D 10
Complete the look
Pairs beautifully with
SHILLS PROFESSIONAL
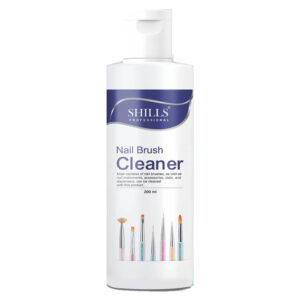
Shills Professional Nail Art Brush Cleanser 100 ml
You may also like
More to discover
SHILLS PROFESSIONAL
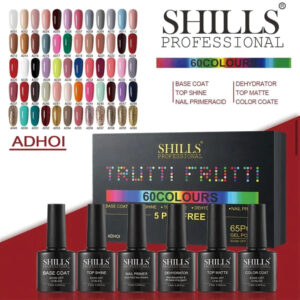
SHILLS PROFESSIONAL TRUTTI FRUTTI 65PCS GEL POLISH 5PCS FREE (ADHOI)

SHILLS PROFESSIONAL
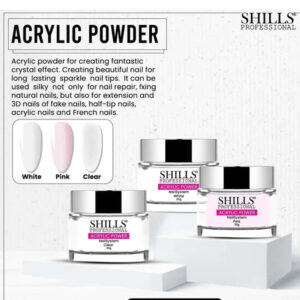
Shills Professional Acrylic Powder Shade White 30gm
SHILLS PROFESSIONAL
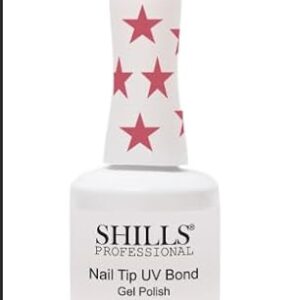
Shills Professional Nail Tip UV Bond Gel Polish Clear 15ML
Loved by 0 customers
Ratings & reviews
0.0
0 verified reviewsOnly logged in customers who have purchased this product may leave a review.
Reviews
There are no reviews yet.